


New! Render PlantUML diagrams directly inside GitHub
with our official browser extension —
No server. No tokens. No tracking. Zero permissions but clipboard. —
Try it out and let us know what you think!
Salt (wireframe)
Salt 그래픽 인터페이스 디자인을 위한 서브 프로젝트이다.@startsalt 키워드를 사용하거나, @startuml 아래에 salt 키워드를 사용할 수 있다.
Developers, designers, and user experience professionals employ them to visualize interface elements, navigational systems, and to facilitate collaboration. They vary in fidelity, from low-detail sketches to high-detail representations, crucial for prototyping and iterative design. This collaborative process integrates different expertise, from business analysis to user research, ensuring that the end design aligns with both business and user requirements.
WARNING
This translation need to be updated. WARNING
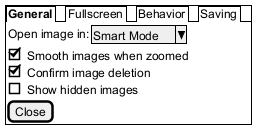
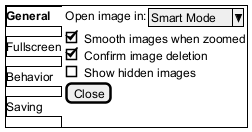
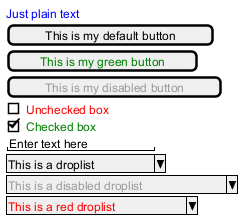
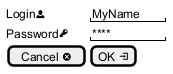
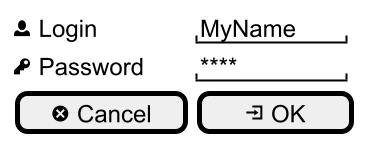
 기본 위젯
기본 위젯
윈도우는 반드시 브라킷({, })으로 감싸야 한다. 그리고 아래의 형식으로 사용한다.:
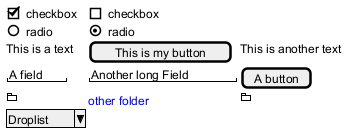
- 버튼(Button)은
[와]. - 라디오 버튼(Radio button)은
(와). - 체크박스(Checkbox)는
[와]. - 인풋박스(User text area)는
".

WARNING
This translation need to be updated. WARNING
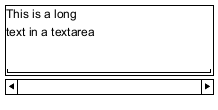
Text area
Here is an attempt to create a text area:

- the dot (
.) to fill up vertical space; - the last line of space (
" ") to make the area wider.

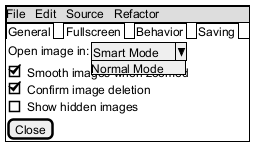
Open, close droplist
You can open a droplist, by adding values enclosed by ^, as:
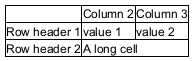
그리드 사용하기
테이블은 {를 사용할 때 자동 생성된다. 그리고 컬럼을 구분하기 위해선 | 를 사용해야한다.
예시:

| Symbol | Result |
#
|
To display all vertical and horizontal lines |
!
|
To display all vertical lines |
-
|
To display all horizontal lines |
+
|
To display external lines |

WARNING
This translation need to be updated. WARNING
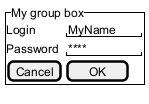
Group box [^]
Using separator [.., ==, ~~, --]
You can use several horizontal lines as separator.

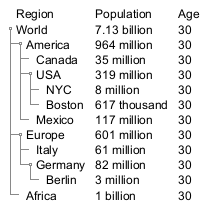
Tree widget [T]
To have a Tree, you have to start with {T and to use + to denote hierarchy.

Tree table [T]
You can combine trees with tables.

Enclosing brackets [{, }]
You can define subelements by opening a new opening bracket.
Adding tabs [/]
You can add tabs using {/ notation. Note that you can use HTML code to have bold text.
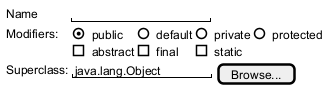
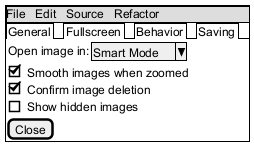
Using menu [*]
You can add a menu by using {* notation.

Advanced table
You can use two special notations for table :
*to indicate that a cell with span with left.to denotate an empty cell
Scroll Bars [S, SI, S-]
You can use {S notation for scroll bar like in following examples:
{S: for horizontal and vertical scrollbars

{SI: for vertical scrollbar only

{S-: for horizontal scrollbar only

Colors
It is possible to change text color of widget.
Creole on Salt
You can use Creole or HTML Creole on salt:
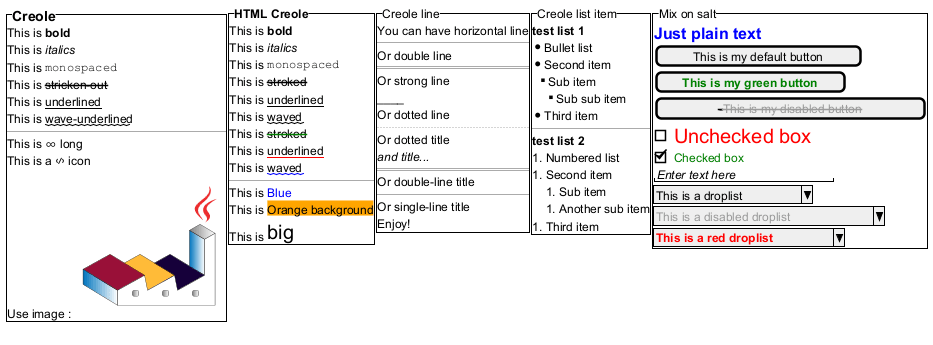
Pseudo sprite [<<, >>]
Using << and >> you can define a pseudo-sprite or sprite-like drawing and reusing it latter.
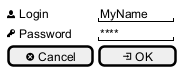
OpenIconic
OpenIconic is a very nice open source icon set. Those icons have been integrated into the creole parser, so you can use them out-of-the-box.
You can use the following syntax: <&ICON_NAME>.
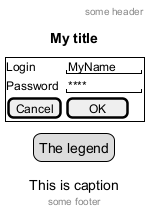
Add title, header, footer, caption or legend
Zoom, DPI
Whitout zoom (by default)
Scale
You can use thescale command to zoom the generated image.
You can use either a number or a fraction to define the scale factor. You can also specify either width or height (in pixel). And you can also give both width and height: the image is scaled to fit inside the specified dimension.
DPI
You can also use theskinparam dpicommand to zoom the generated image.
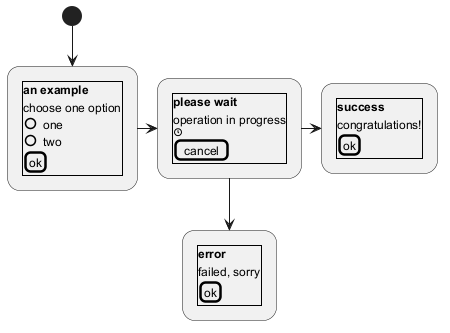
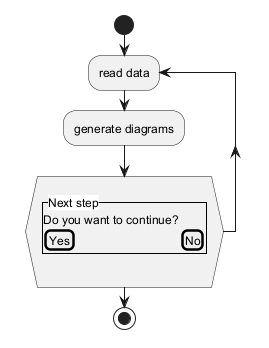
Include Salt "on activity diagram"
You can read the following explanation.

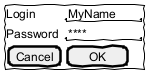
Include salt "on while condition of activity diagram"
You can include salt on while condition of activity diagram.
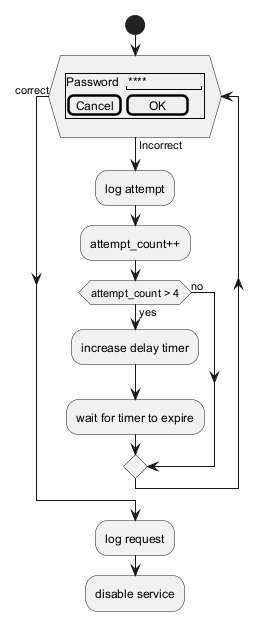
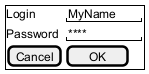
Include salt "on repeat while condition of activity diagram"
You can include salt on 'repeat while' condition of activity diagram.
Skinparam
You can use [only] some skinparam command to change the skin of the drawing.
Some example:

FIXME
🚩
FYI, some other skinparam does not work with salt, as:
Style
You can use [only] some style command to change the skin of the drawing.
Some example:
FIXME
🚩
FYI, some other style does not work with salt, as:
