New! Render PlantUML diagrams directly inside GitHub
with our official browser extension —
No server. No tokens. No tracking. Zero permissions but clipboard. —
Try it out and let us know what you think!
Zustandsdiagramm
Zustandsdiagramme bieten eine visuelle Darstellung der verschiedenen Zustände, die ein System oder ein Objekt einnehmen kann, sowie der Übergänge zwischen diesen Zuständen. Sie sind für die Modellierung des dynamischen Verhaltens von Systemen unerlässlich, da sie aufzeigen, wie diese im Laufe der Zeit auf verschiedene Ereignisse reagieren. Zustandsdiagramme stellen den Lebenszyklus eines Systems dar und erleichtern so das Verständnis, den Entwurf und die Optimierung seines Verhaltens. Mit PlantUML zur Erstellung von Zustandsdiagrammen bietet mehrere Vorteile:- Textbasierte Sprache: Schnelles Definieren und Visualisieren von Zuständen und Übergängen ohne mühsames manuelles Zeichnen.
- Effizienz und Konsistenz: Sorgen Sie für eine rationelle Diagrammerstellung und eine einfache Versionskontrolle.
- Vielseitigkeit: Integrieren Sie sich in verschiedene Dokumentationsplattformen und unterstützen Sie mehrere Ausgabeformate.
- Open-Source & Community Support: Unterstützt von einer starken Community, die kontinuierlich zu den Verbesserungen beiträgt und unschätzbare Ressourcen zur Verfügung stellt.
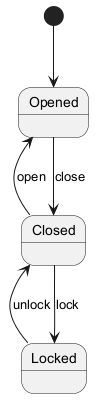
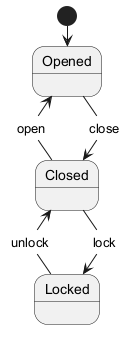
 Einfacher Zustand
Sie können [*] für den Anfangs- und Endpunkt von
des Zustandsdiagramms verwenden.
Verwenden Sie --> für Pfeile.
Ändern Sie die Darstellung des Zustands
Sie können hide empty description verwenden, um den Zustand als einfache Box darzustellen
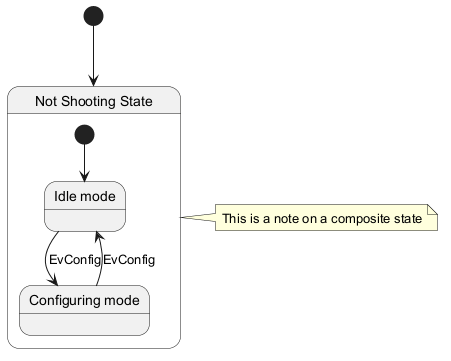
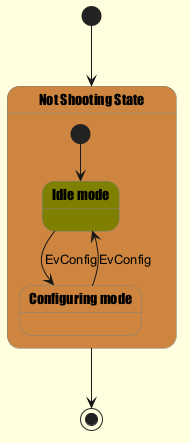
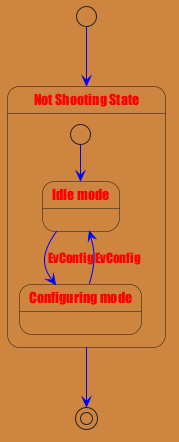
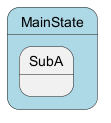
Zusammengesetzter Zustand
Ein Zustand kann auch zusammengesetzt sein. Sie müssen ihn mit den Schlüsselwörtern state
und Klammern definieren.
Interner Unterzustand
Unterzustand zu Unterzustand

Lange Bezeichnungen für einen Zustand
Mit dem state Schlüsselwort können auch längere Bezeichnungen eines Status definiert werden.
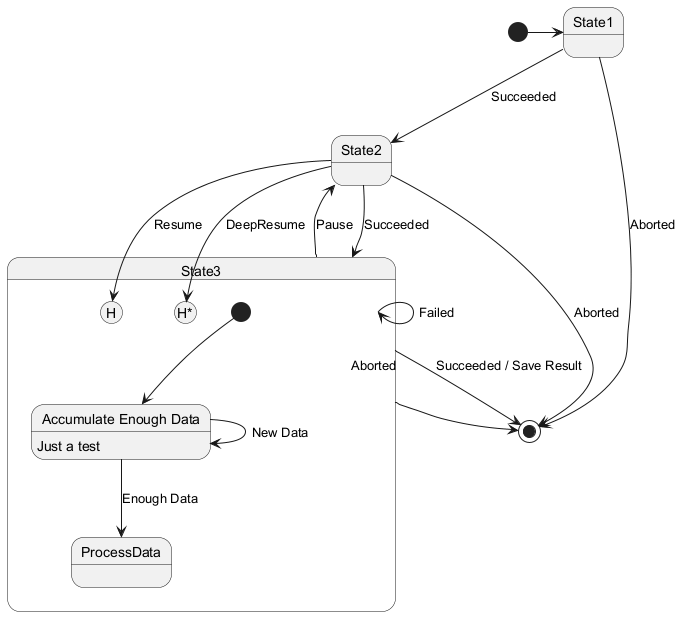
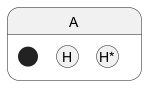
History [[H], [H*]]
Sie können [H] für die History und [H*] für die Deep History eines Substates verwenden.
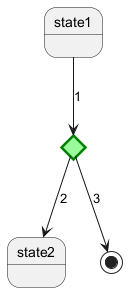
Fork [fork, join]
You can also fork and join using the <<fork>> and <<join>> stereotypes.

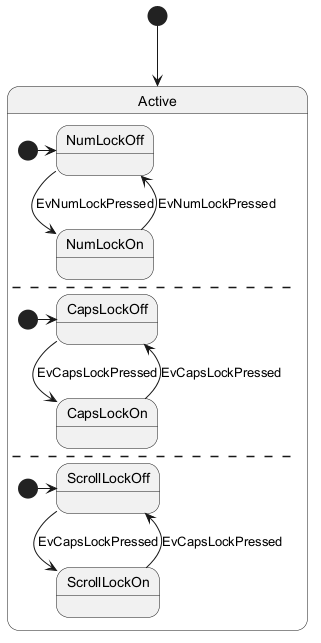
Nebenläufige Zustände
Nebenläufige Zustände können mit dem -- oder || Symbol in einem
zusammengesetzten Zustand zusammengefasst werden..
WARNING
This translation need to be updated. WARNING
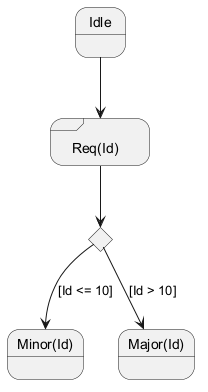
Conditional [choice]
The stereotype <<choice>> can be used to use conditional state.
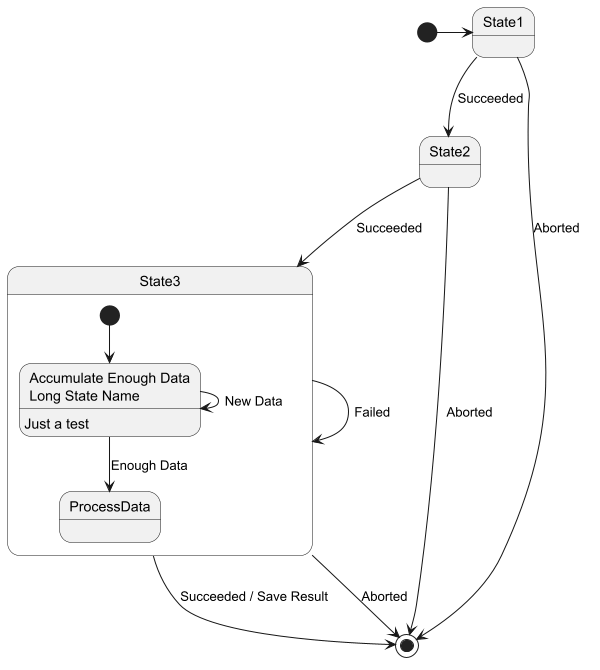
Stereotypes full example [start, choice, fork, join, end, history, history*]
Start, choice, fork, join, end
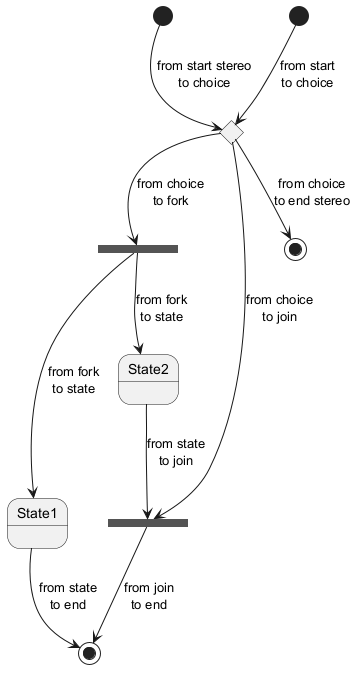
History, history*
Minimal example with all stereotypes

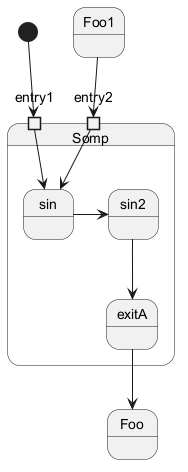
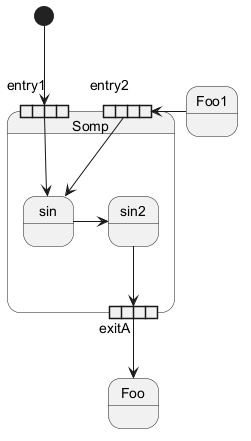
Point [entryPoint, exitPoint]
You can add point with <<entryPoint>> and <<exitPoint>> stereotypes:

Pin [inputPin, outputPin]
Du kannst auch pin mit <<inputPin>> und <<outputPin>> stereotypes: hinzufügen
WARNING
This translation need to be updated. WARNING
Expansion [expansionInput, expansionOutput]
You can add expansion with <<expansionInput>> and <<expansionOutput>> stereotypes:
Pfeilrichtung
Mit dem -> Symbol können waagerechte Pfeile erzeugt werden. Man kann die Richtung der Pfeile außerdem mit der
folgenden Syntax festlegen:
-down->(default arrow)-right->or->-left->-up->
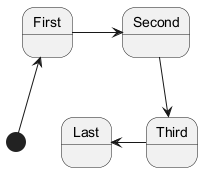
-d- anstelle von -down-) oder die ersten beiden
Buchstaben (-do-).
Beachten Sie, dass sie mit dieser Möglichkeit sorgfältig umgehen: GraphViz
liefert normalerweise recht gute Ergebnisse, ohne das manuell eingegriffen werden muss.
Change line color and style
You can change line color and/or line style.
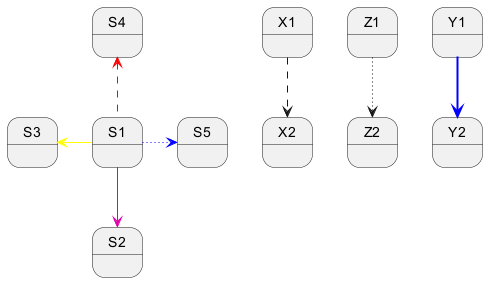
Change head or tail of arrow line

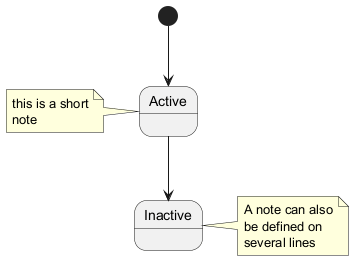
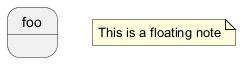
Notizen
Notizen können mit den
note left of, note right of, note top of, note bottom of
Schlüsselworten
an die Zustände gebunden werden. Die Notizen können sich auch über mehrere Zeilen erstrecken.
WARNING
This translation need to be updated. WARNING
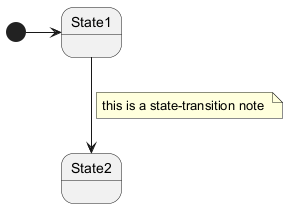
Note on link
You can put notes on state-transition or link, with note on link keyword.
Mehr über Notizen
Es ist auch möglich, Notizen für einen verbunden Zustand zu erstellen.
Inline color
Skinparam
Mit dem skinparam Befehl kann die Farbe und die Schriftart der Zeichnung verändert werden.
Sie können den Befehl auf die folgenden Arten verwenden:
- Wie alle ander Befehle In einer Diagrammdefinition,
- in einer Include-Datei,
- In einer Konfigurationsdatei, die durch die Kommandozeile oder den ANT-Task übergeben wird.
WARNING
This translation need to be updated. WARNING
Changing style
You can change style.
Change state color and style (inline style)
You can change the color or style of individual state using the following notation:
#color ##[style]color
#color), then line style and line color (##[style]color ).

#color;line:color;line.[bold|dashed|dotted];text:color
FIXME
🚩
text:color seems not to be taken into account
FIXME


Alias
With State you can use alias, like:


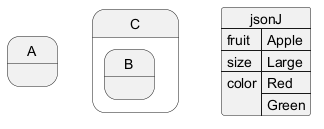
Display JSON Data on State diagram
Simple example
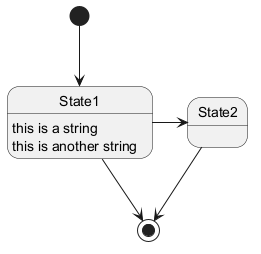
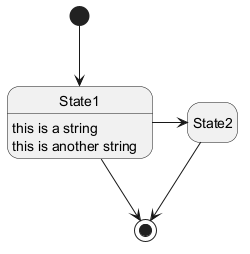
State description
You can add description to a state or to a composite state.

Style for Nested State Body
Mainframe and frame
Mainframe
You can use global mainframe: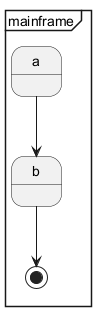
Frame
Or simply local frame: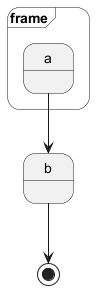
Specific SkinParameter
By default
By default label are near arrow.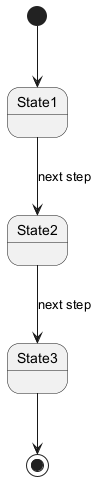
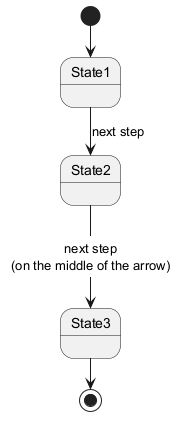
Edge Label Style
You can useskinparam stateDiagramEdgeLabelStyle node to put label on the middle of the arrow, and create a pseudo node.
Mix label defintion
By using localy-[node]-> form.