New! Render PlantUML diagrams directly inside GitHub
with our official browser extension —
No server. No tokens. No tracking. Zero permissions but clipboard. —
Try it out and let us know what you think!
ユースケース図
ユースケース図は、外部のアクターがシステムとどのように相互作用するかを示します。誰が何を行い、システムがどのような機能を提供するかを表現するものです。機能要件の全体像を俯瞰でき、設計の初期段階で関係者の認識を揃えるのに役立ちます。 PlantUML では、アクター、ユースケース、およびそれらの関係をテキストで記述します。図は自動的に生成されます。- テキストを入力、図を出力。 アクター、ユースケース、関係を数行で定義できます。
- リファクタリングが容易。 アクターの名前変更やユースケースの移動は、1 行の編集で済みます。
- リポジトリに収まる。 図はドキュメント対象のコードと並んで、バージョン管理下に置かれます。
 ユースケース
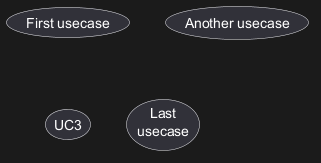
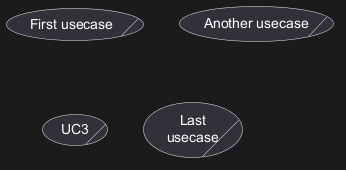
ユースケースは丸括弧で囲んで使います(丸括弧の対は
楕円に似ているからです)。
usecase キーワードを使ってユースケースを定義することもできます。
as キーワードを使ってエイリアスを定義することもできます。このエイリアスは
あとで、ユースケースの関係を定義するために使います。
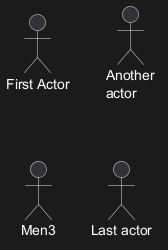
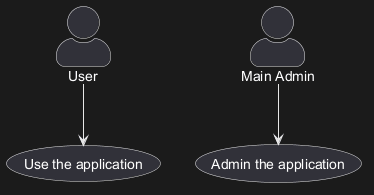
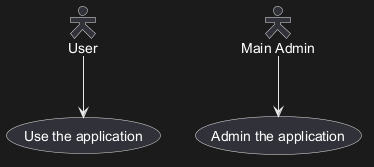
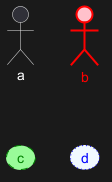
アクター
アクターは2つのコロンで囲まれます。
actor キーワードを使ってアクターを定義することもできます。
as キーワードを使ってエイリアスを定義することもできます。このエイリアスはあとで、ユースケースの関係を定義するために使います。
後から説明しますが、アクターの定義は必須ではありません。
アクターのスタイルを変更する
アクターのスタイルを、デフォルトの棒人間以外に変更できます:
skinparam actorStyle awesomeコマンドで、awesome manスタイルskinparam actorStyle hollowコマンドで、hollow manスタイル
棒人間 (デフォルト)
Awesome man
Hollow man
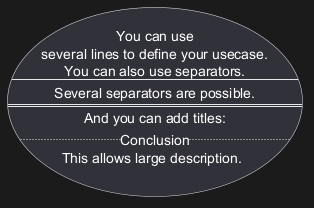
ユースケースの説明
クオート記号を使うことにより、複数行にわたる説明を記述できます。
また、次の区切り記号を使用できます:
--(ダッシュ)..(ピリオド)==(イコール)__(アンダースコア)
WARNING
This translation need to be updated. WARNING
パッケージ
パッケージを使用して、アクターやユースケースをグループ化できます。
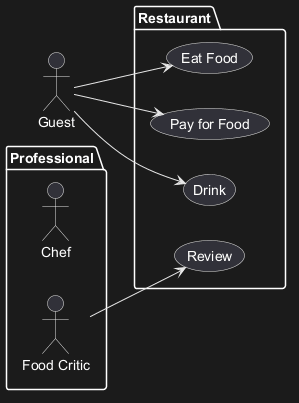
rectangleを使用するとパッケージの見た目を変更できます。
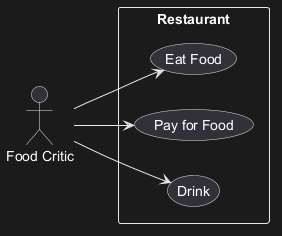
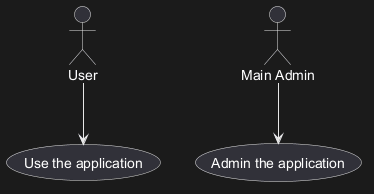
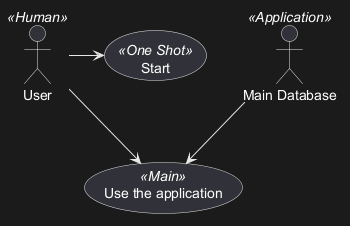
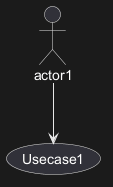
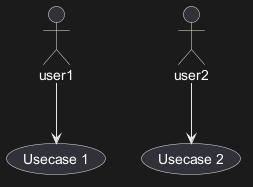
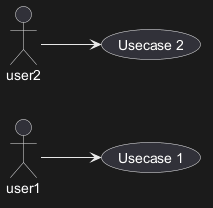
簡単な例
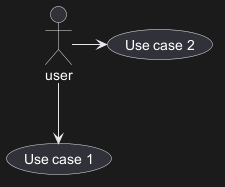
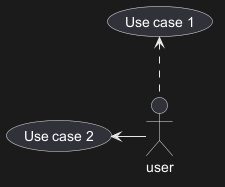
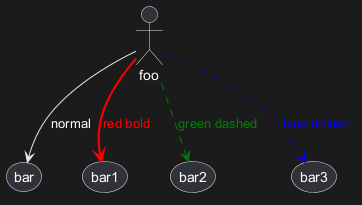
アクターとユースケースを繋げるには --> 矢印を使います。
矢印に使うハイフン - の数を増やすと矢印を長くできます。
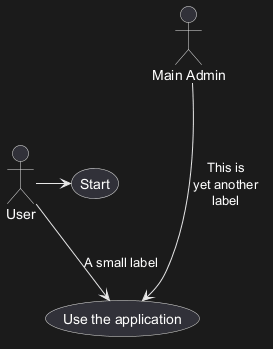
矢印の定義に : を使うことにより矢印にラベルをつけることができます。
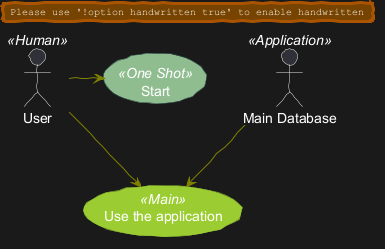
以下の例では User は定義なしにアクターとして使われています。
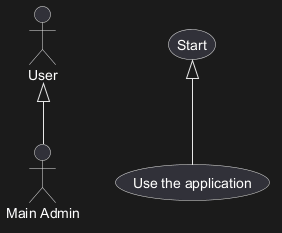
継承
もしアクターやユースケースが継承をする場合には、 <|-- 記号を使います。
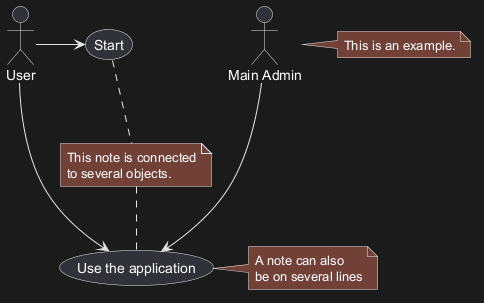
ノートの使用方法
オブジェクトに関連のあるノートを作成するには note left of 、 note right of 、 note top of 、 note bottom of キーワードを使います。
または note キーワードを使ってノートを作成し、 .. 記号を使ってオブジェクトに紐づけることができます。
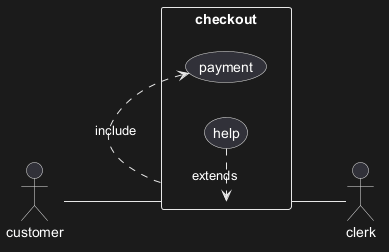
ステレオタイプ
<< と >> を使い、アクターとユースケースを定義中にステレオタイプを追加できます。
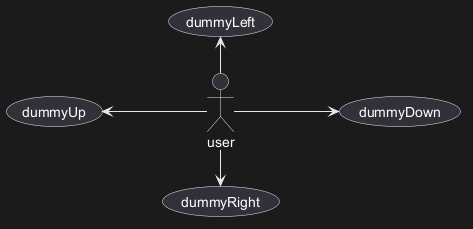
矢印の方向を変えるには
デフォルトでは、クラス間の線は2個のハイフン -- で表され、縦方向につながります。横方向の線を描くには以下のようにハイフン1つかドット1つを書きます。
left、 right、 up、 down を書くことによっても線の方向を変えられます。
-down- ではなく -d- など、各方向の頭文字、または頭2文字( -do- )だけ使って矢印を短く記述することも出来ます。
ただし、この機能の使いすぎには注意しましょう。ほとんどの場合、特別なことをしなくても Graphviz がその場にあった表示を選びます。
left to right directionパラメータを使用した場合は、次のようになります:
図を分割する
newpage キーワードは、いくつかのページや画像に図を分割します。
左から右に描画する
デフォルトの作図方向は top to bottom となっています。
left to right direction コマンドを使います。
スキン設定(Skinparam)
ダイアグラムの色やフォントを変更するには skinparam コマンドを使用します。
このコマンドは以下の場面で使用できます。
- ダイアグラム定義内で他のコマンドを同様に。
- インクルードされたファイル内。
- 設定ファイルのコマンドライン内やANTタスク内。
WARNING
This translation need to be updated. WARNING
完全な例
ビジネスユースケース
/を加えると、ビジネスユースケースを作成できます。
ビジネスユースケース
ビジネスアクター

矢印の色とスタイルを変更する(インラインスタイル)
個別の矢印ごとに色とスタイルを変更するには、次の記法を使用します:
#color;line.[bold|dashed|dotted];text:color
要素の色とスタイルを変更する(インラインスタイル)
個別の要素ごとに色とスタイルを変更するには、次の記法を使用します:
#[color|back:color];line:color;line.[bold|dashed|dotted];text:color
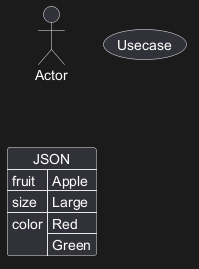
Display JSON Data on Usecase diagram
Simple example